

How to build a serverless contact form on AWS
Create Contact Form For Feedback or Enquiry With An Ease.


Table of contents
- How to build a serverless contact form on AWS
- 1. AWS S3 Bucket
- 1. AWS IAM
- 3. AWS Lambda
- 4. AWS SES
- 5. AWS API Gateway
- STEP 1: Setup Amazon Simple Email Service (SES)
- STEP 2: Create IAM role (AWS Lambda execution role) to allow access to AWS resources
- STEP 3: Create AWS Lambda function to run the serverless contact form code telling AWS SES to send email
- STEP 4: Create Amazon API Gateway endpoint for POST method which will trigger AWS Lambda function
- STEP 5: Build & deploy HTML contact form
- Congratulations we have done it
How to build a serverless contact form on AWS
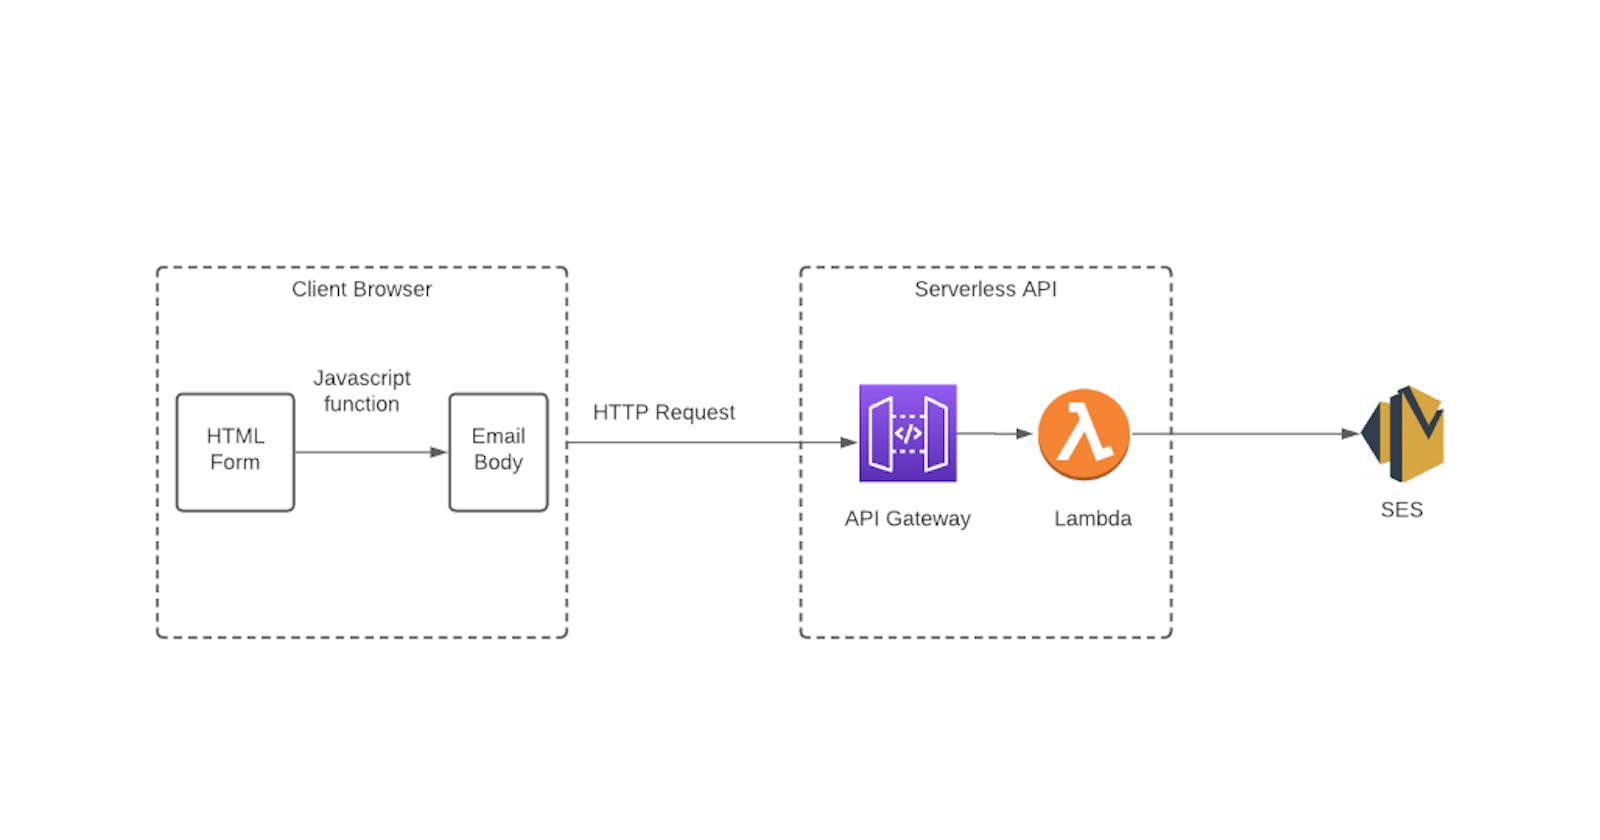
Basically our goal through this exercise is to be able to capture the user’s feedback through a HTML contact form and get it as an email notification for review and response purposes.
AWS provides a simplified way to host your static website in an Amazon S3 bucket, with AWS Lambda you can create a function through which you can send a message yourself through AWS SES. Lambda will only activate when you hit a request to through API Gateway which is connected to your webpage.
To understand more about each service, please follow the below links
1. AWS S3 Bucket
1. AWS IAM
3. AWS Lambda
4. AWS SES
5. AWS API Gateway
Now, I'm sharing the steps I followed to build a serverless contact using Above services.
Step 1 : Setup Amazon Simple Email Service (SES) for sending email
Step 2 : Create IAM role (AWS Lambda execution role) to allow access to AWS resources
Step 3 : Create AWS Lambda function to run the serverless contact form code telling AWS SES to send email
Step 4 : Create Amazon API Gateway endpoint for POST method which will trigger AWS Lambda function
Step 5 : Build & deploy HTML contact form
Let's discuss each step in depth
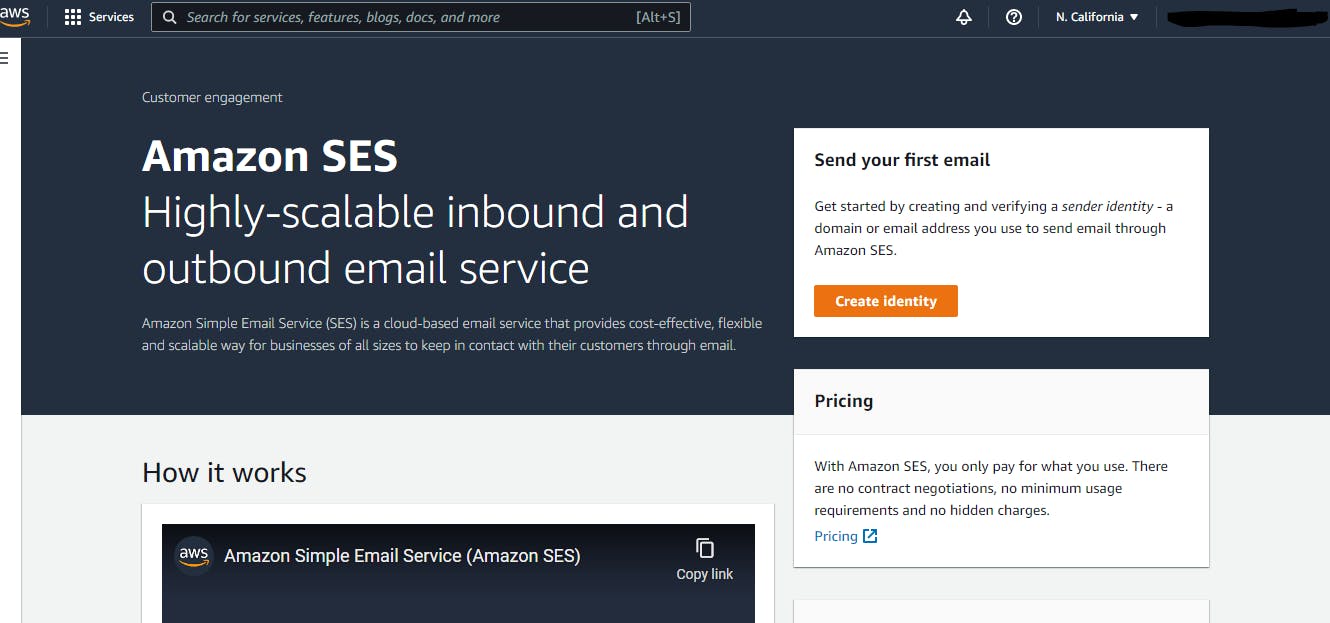
STEP 1: Setup Amazon Simple Email Service (SES)
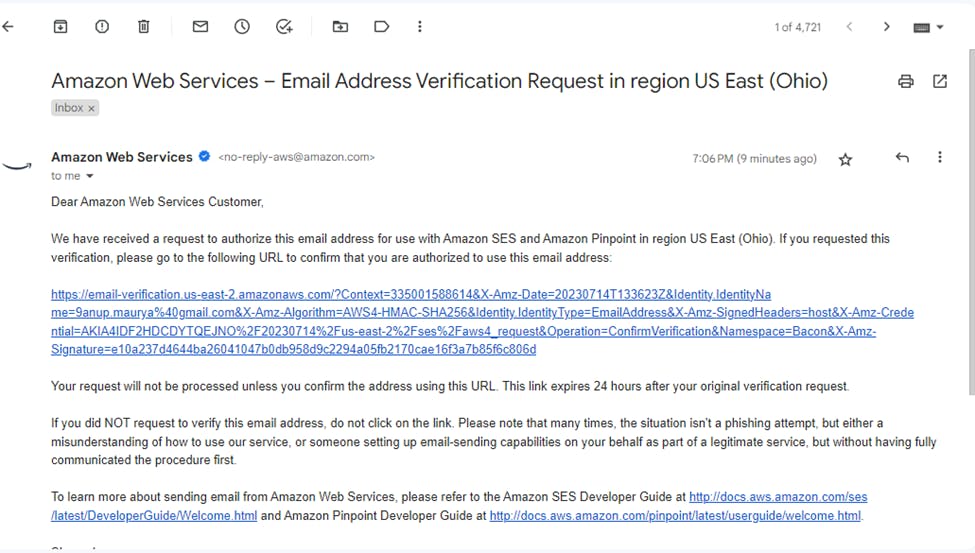
To send emails via AWS SES, you first need to verify an email address which will be used to send the emails. Follow the steps to setup an email address with Amazon’s cloud-based email sending service. Navigate to SES in the AWS Console.
- 1.1 Under SES Home > Create identity
1.2 Select Identity type as Email Address
1.3 Enter the email address you would like to use.
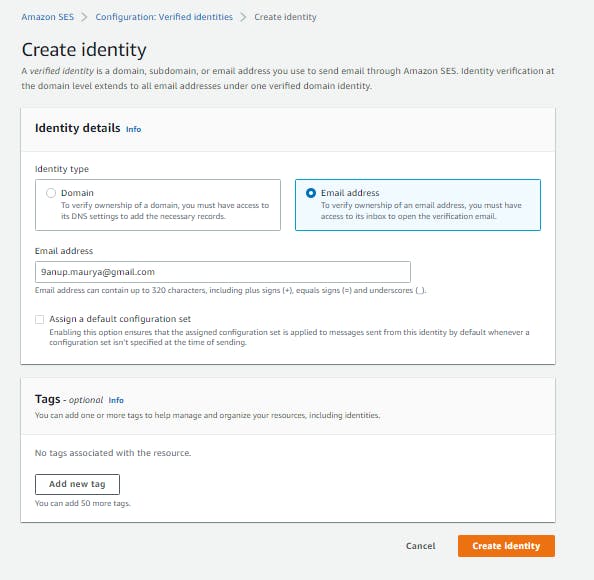
-1.4 Click on Create Identity , and you done with first Step.

STEP 2: Create IAM role (AWS Lambda execution role) to allow access to AWS resources
The IAM role (AWS Lambda execution role) you now create will be associated with the AWS Lambda function covered in the next step. The permissions you grant the IAM role will determine what AWS resources the AWS Lamba function has access to. Follow the steps to create the role and attach the policy giving access to the AWS SES. Navigate to IAM in the AWS Console.
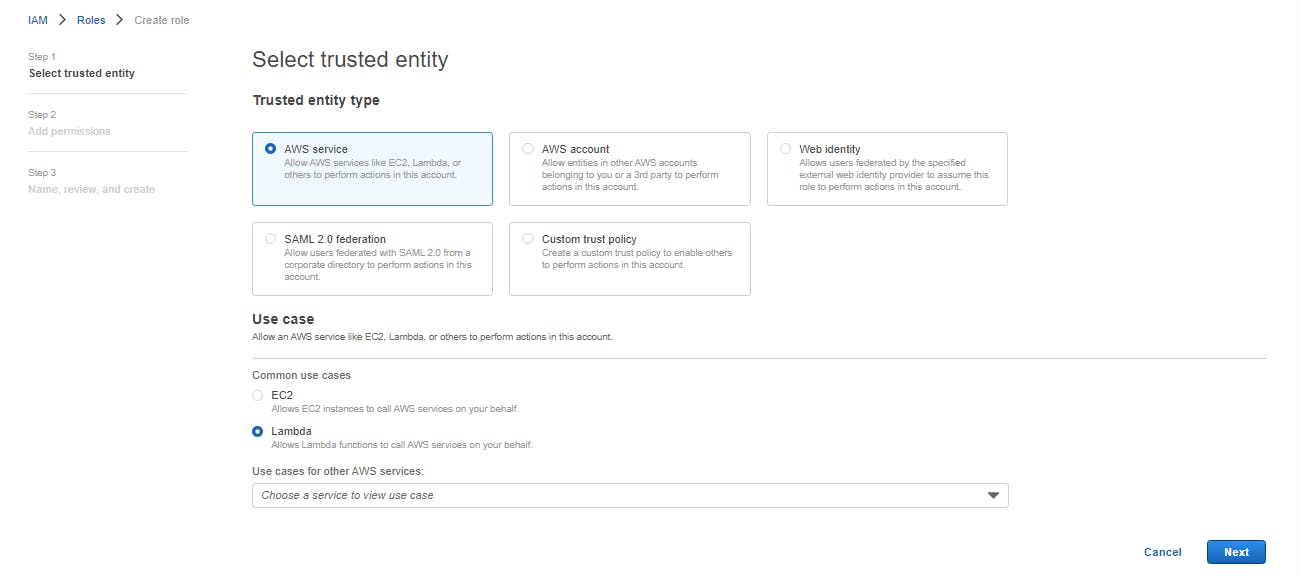
- 2.1 Click Create Role

- 2.2 Select entity type as AWS Services and Use Case as AWS Lambda
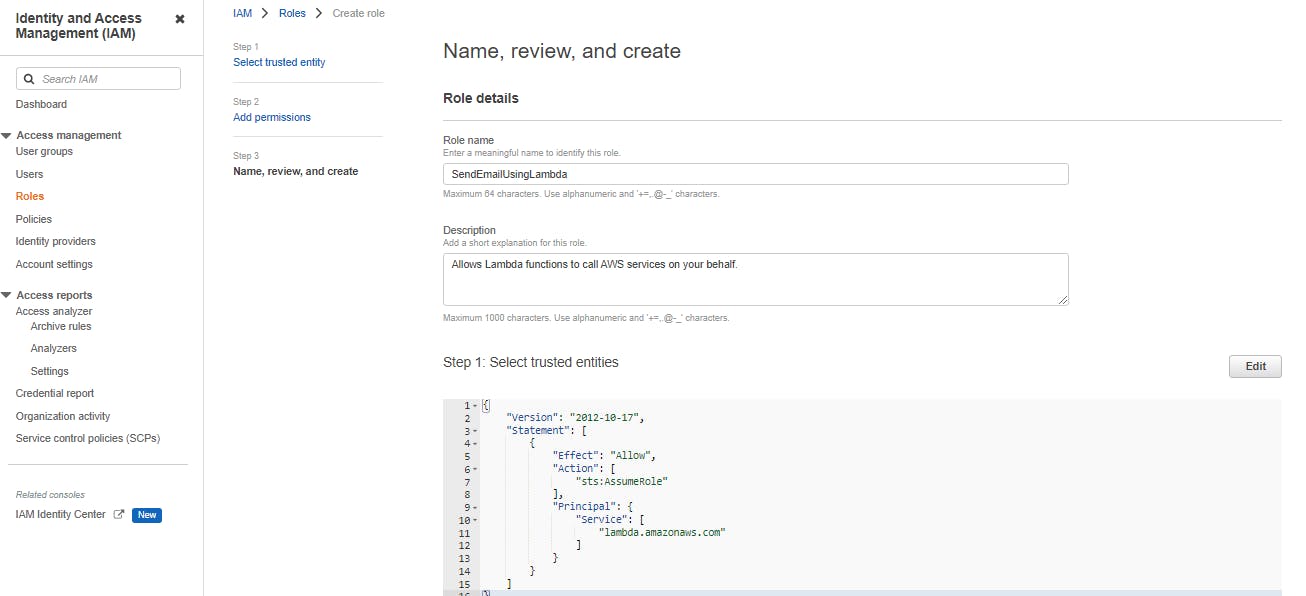
- 2.3 Select the policy as shown in image

- 2.3 Review the IAM roles and Select create role
Now, you done with step 2 and hope feeling excited. 🤗
STEP 3: Create AWS Lambda function to run the serverless contact form code telling AWS SES to send email
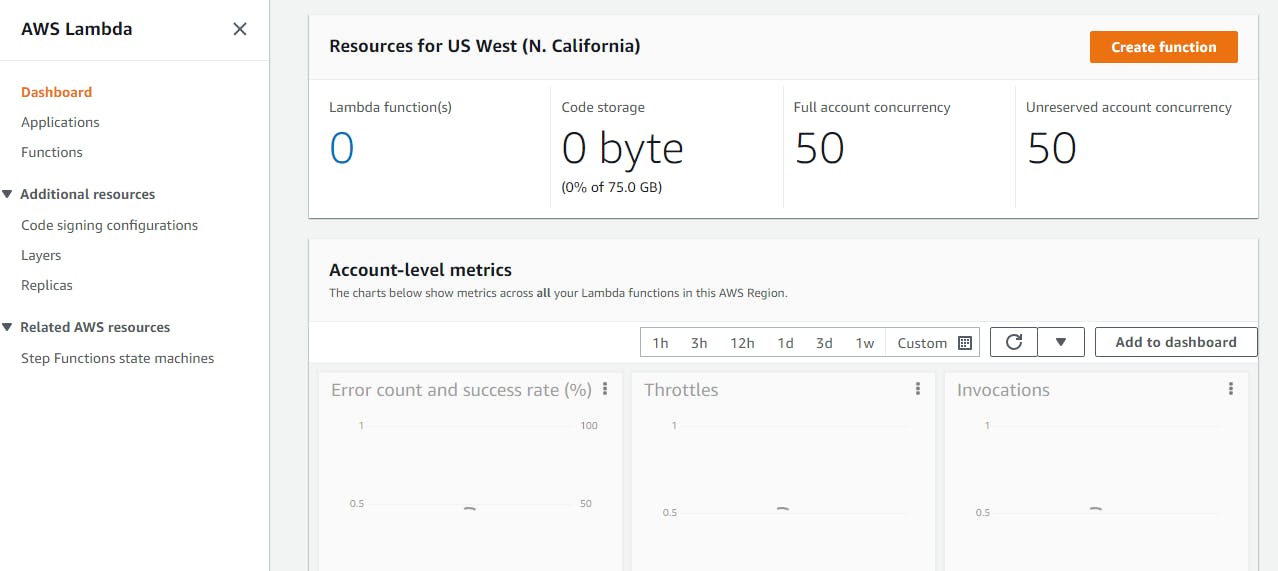
- 3.1 Navigate to Lambda from the AWS Console and click Create Function
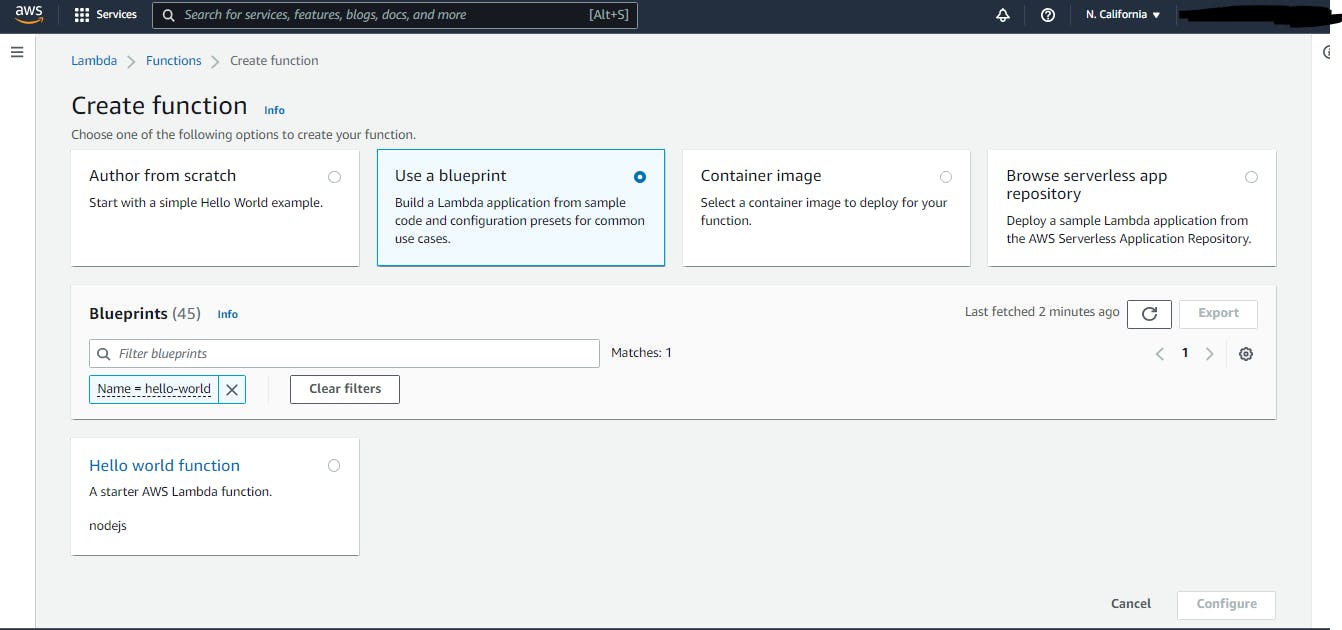
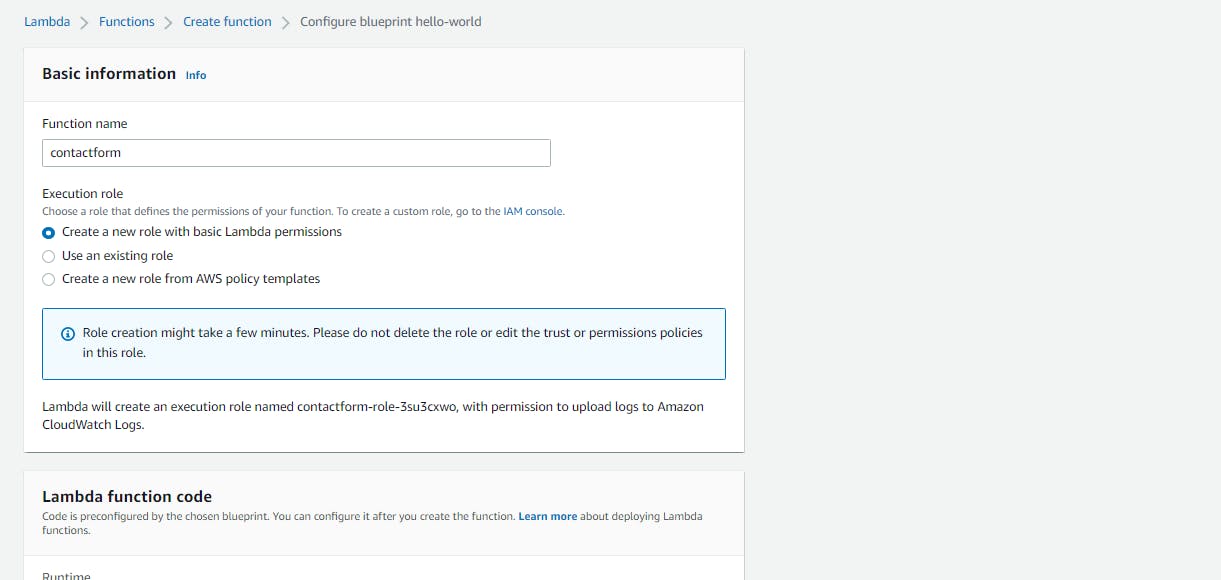
- 3.2 Select Blueprints, then enter “hello” in the search bar. Select the hello-world nodejs Blueprint and click Configure
- 3.3 Enter a name for the function. Under Role select “Choose an existing role” and then select the role we previously created in Step 2. Click Create Function
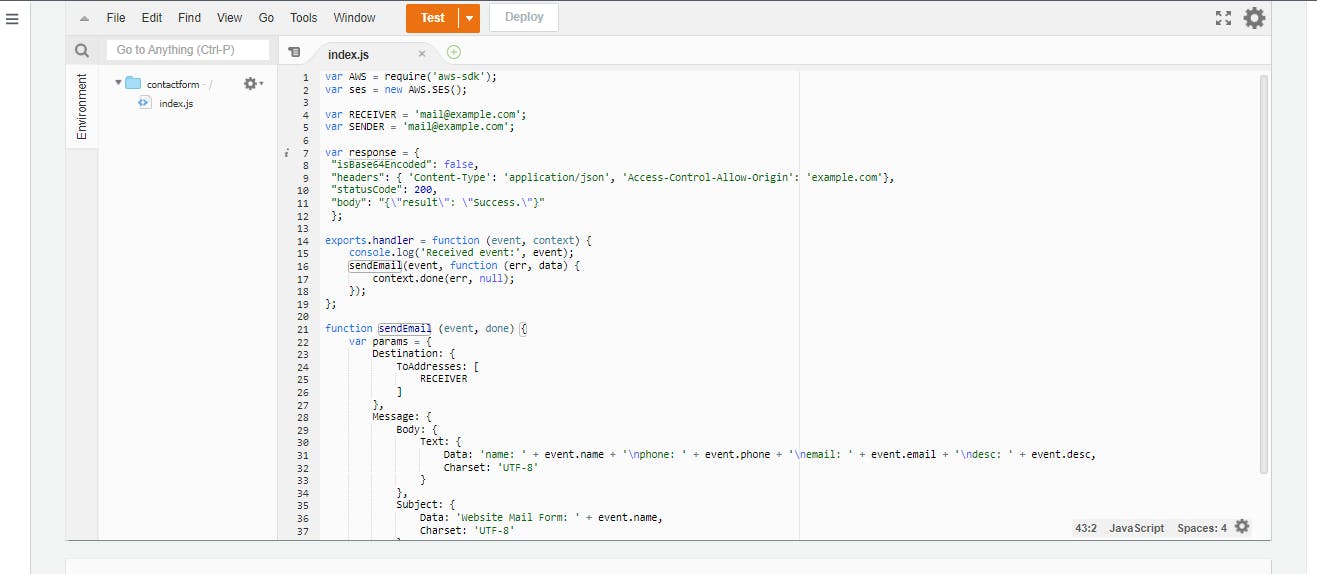
-3.4 Under the Function code section select “Edit code inline” and replace the existing code in index.js with the code below and click Save. (Change ‘mail@example.com’ and ‘example.com’ to your own addresses)
var AWS = require('aws-sdk');
var ses = new AWS.SES();

var RECEIVER = 'mail@example.com';
var SENDER = 'mail@example.com';

var response = {
 "isBase64Encoded": false,
 "headers": { 'Content-Type': 'application/json', 'Access-Control-Allow-Origin': 'example.com'},
 "statusCode": 200,
 "body": "{\"result\": \"Success.\"}"
 };

exports.handler = function (event, context) {
    console.log('Received event:', event);
    sendEmail(event, function (err, data) {
        context.done(err, null);
    });
};

function sendEmail (event, done) {
    var params = {
        Destination: {
            ToAddresses: [
                RECEIVER
            ]
        },
        Message: {
            Body: {
                Text: {
                    Data: 'name: ' + event.name + '\nphone: ' + event.phone + '\nemail: ' + event.email + '\ndesc: ' + event.desc,
                    Charset: 'UTF-8'
                }
            },
            Subject: {
                Data: 'Website Mail Form: ' + event.name,
                Charset: 'UTF-8'
            }
        },
        Source: SENDER
    };
    ses.sendEmail(params, done);
}
- 3.5 Deploy the above code
- 3.6 Click on Test to verify the lambda is create successfully and working.
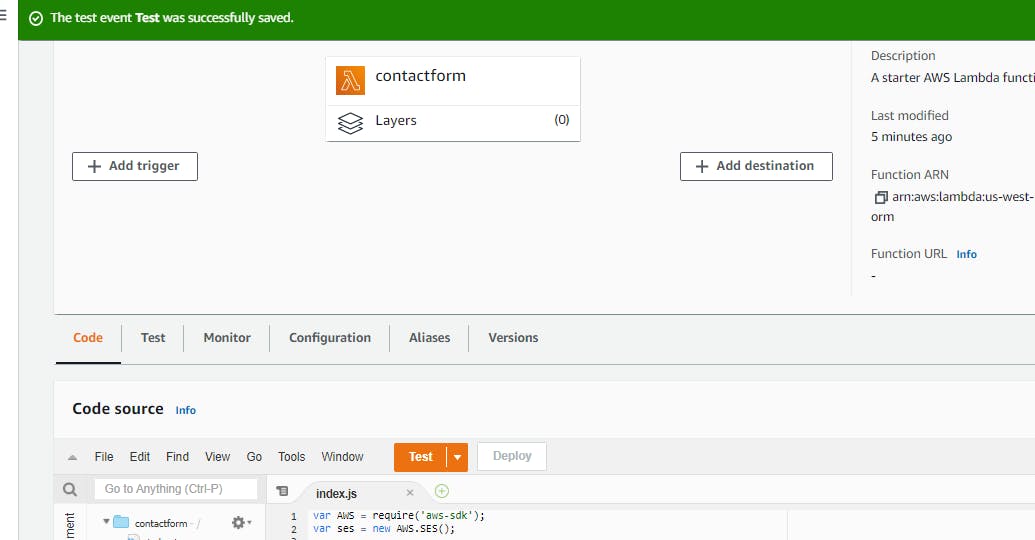
Now, you are done with step 3 and To more steps to achieve what we want. 🤗
STEP 4: Create Amazon API Gateway endpoint for POST method which will trigger AWS Lambda function
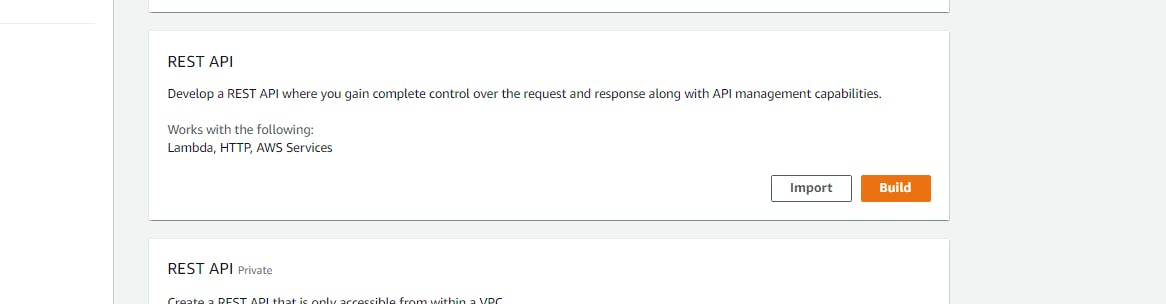
- 4.1 Navigate to API Gateway from the AWS Console and click Create API
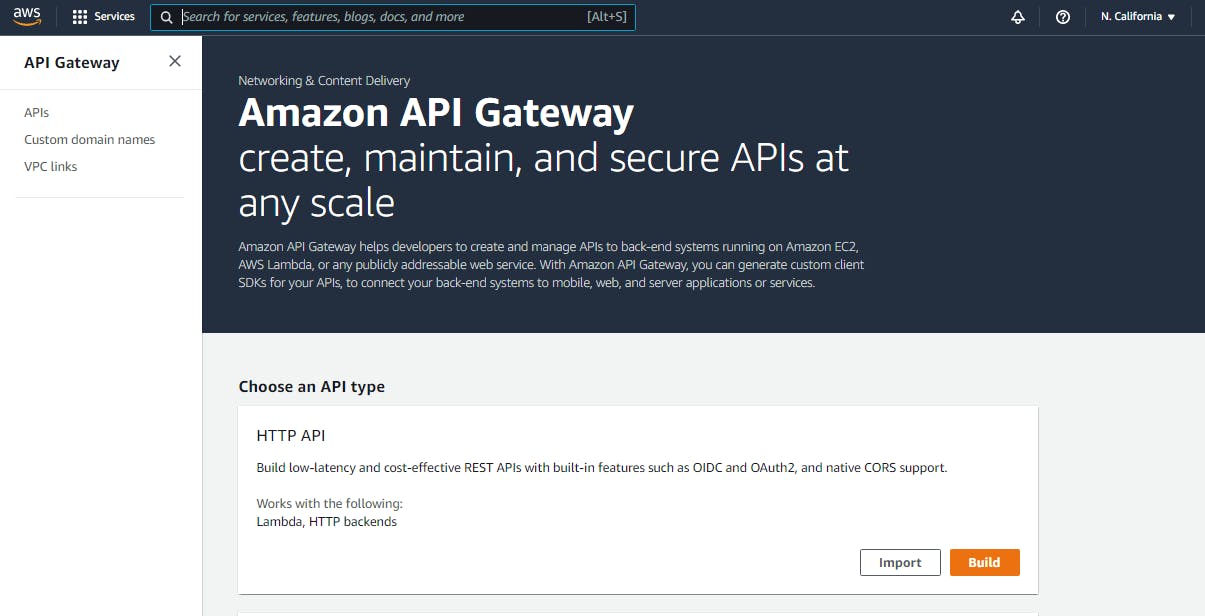
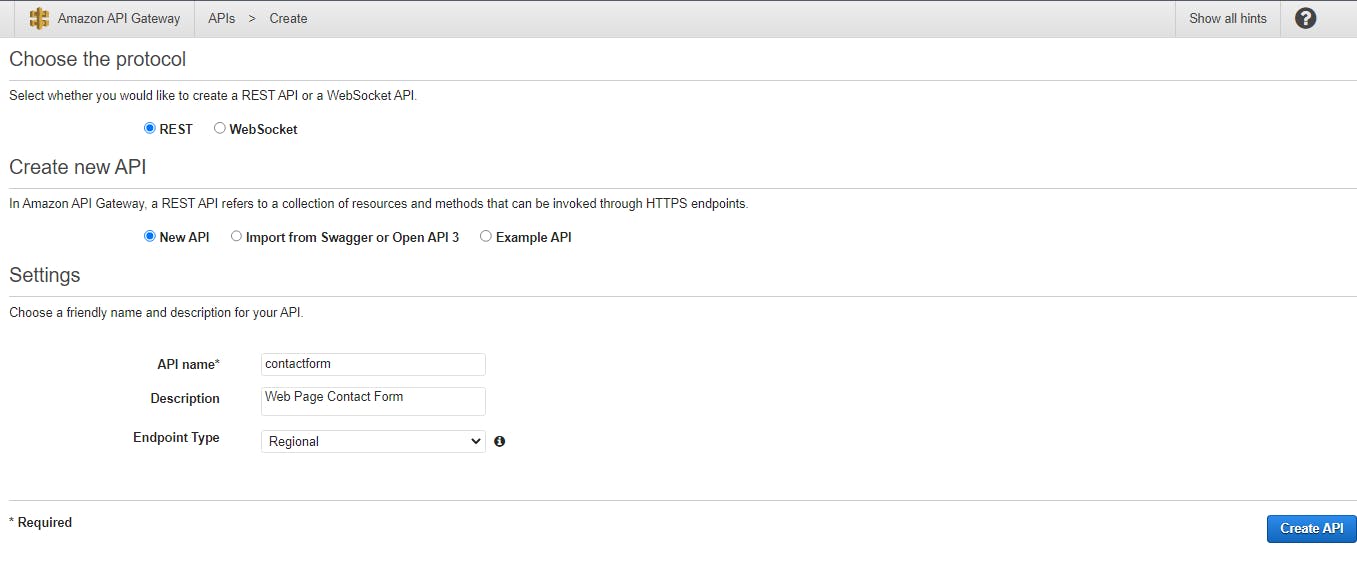
- 4.2 Select REST API, otherwise, you will in trouble like me 🥴 as that will not work.
- 4.2 Enter a name for the API and click Create API.
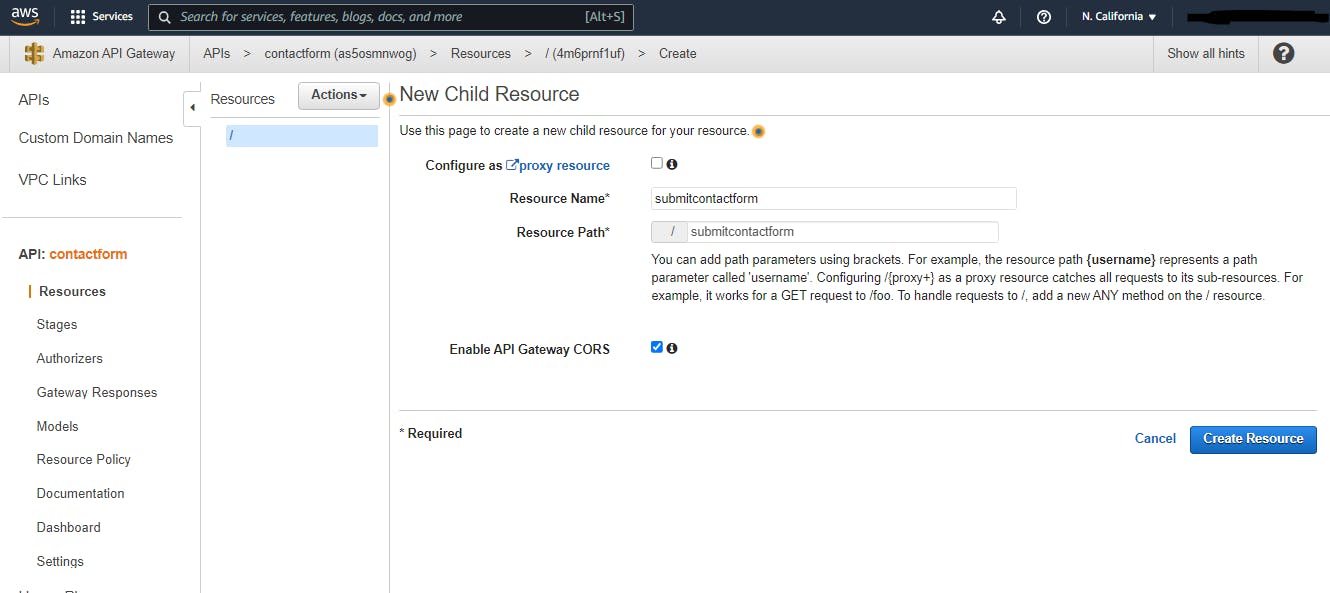
- 4.3 Select the new API, click on the “actions” button dropdown, and select Create Resource

- 4.4 Enter a name and path for the new resource. Tick to Enable API Gateway CORS and click Create Resource
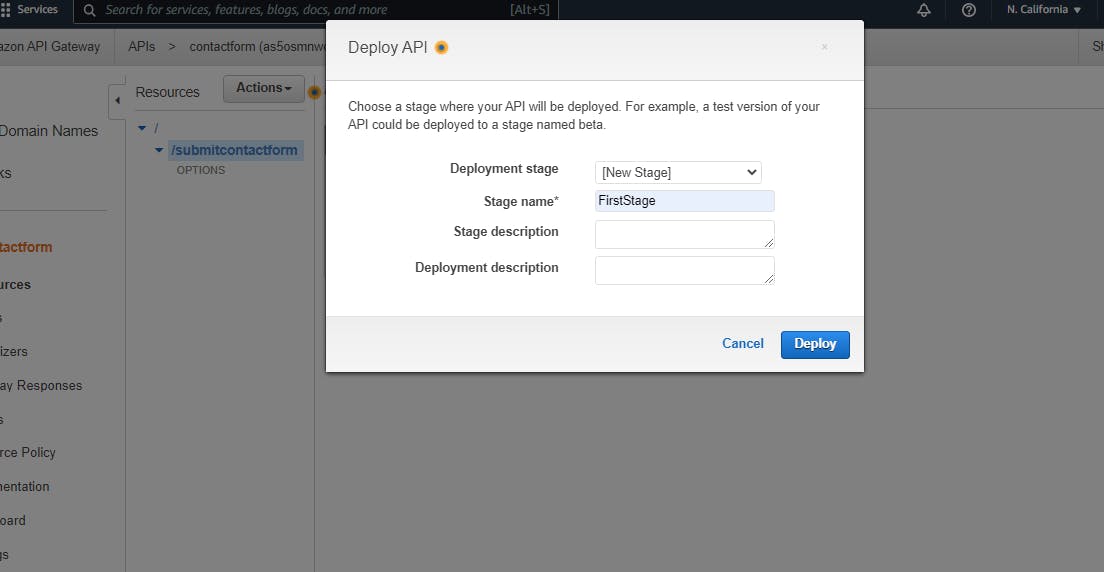
4.5 Click on the “actions” button dropdown again, and select Deploy API
4.6 Under the “Deployment stage” dropdown select “new stage” and enter a name for the stage. Click Deploy
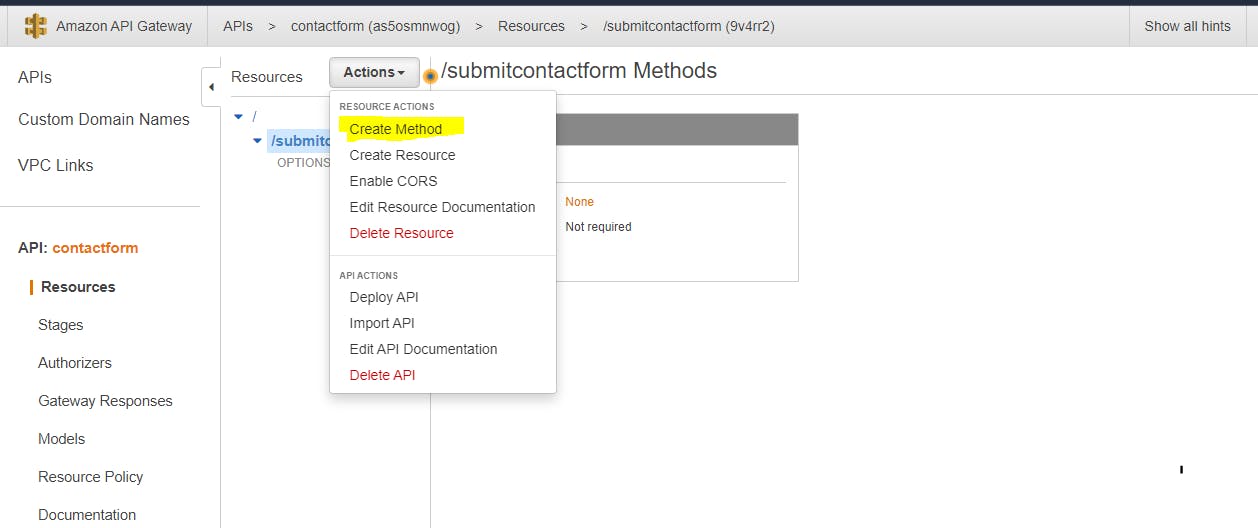
- 4.7 Select the API “Resources”, select the new resource created in 4.3 and click on the “actions” button dropdown again, and select Create Method
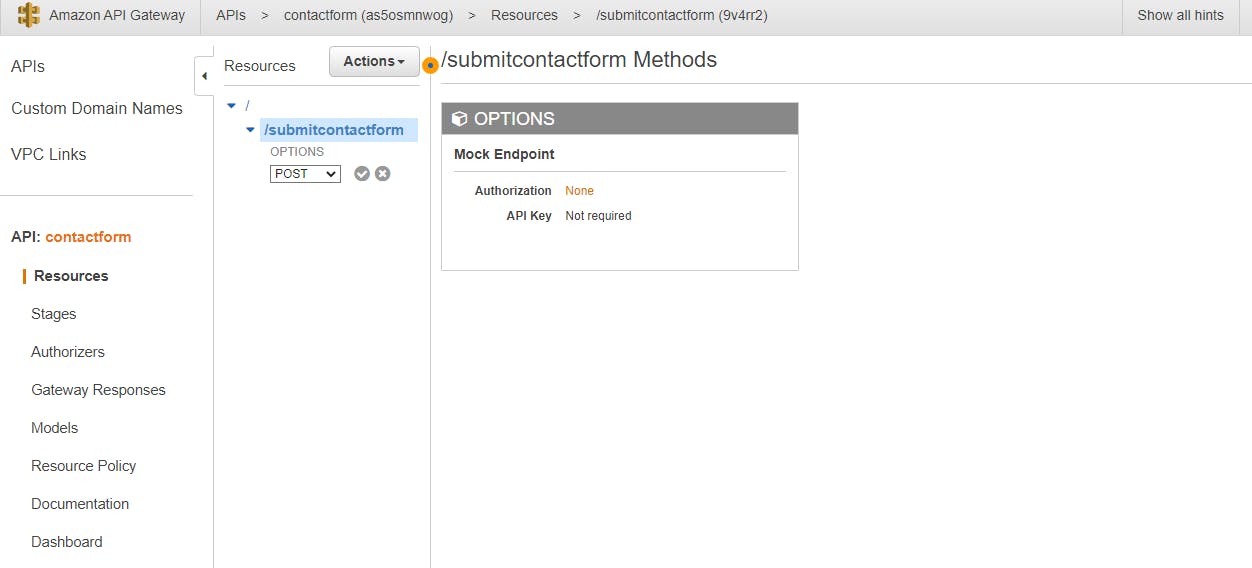
- 4.8 Select the Methods dropdown under the resource and choose POST and click the tick.
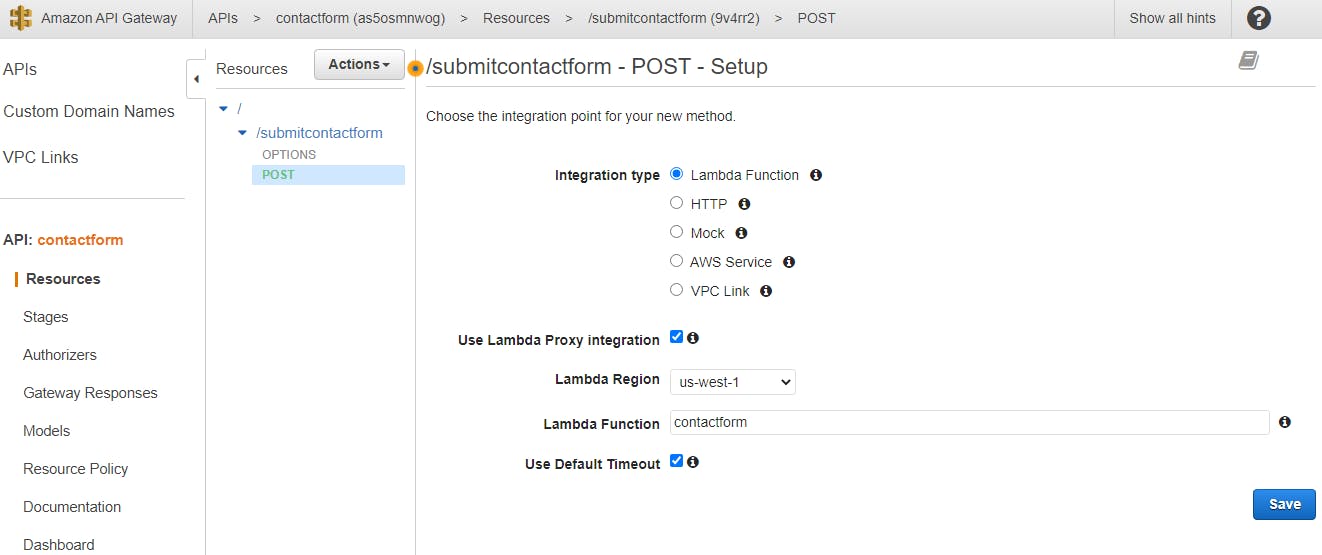
- 4.9 Choose Lambda Function as the integration type and in the Lambda Function input, type and search for the Lambda Function created in Step 3. Click Save
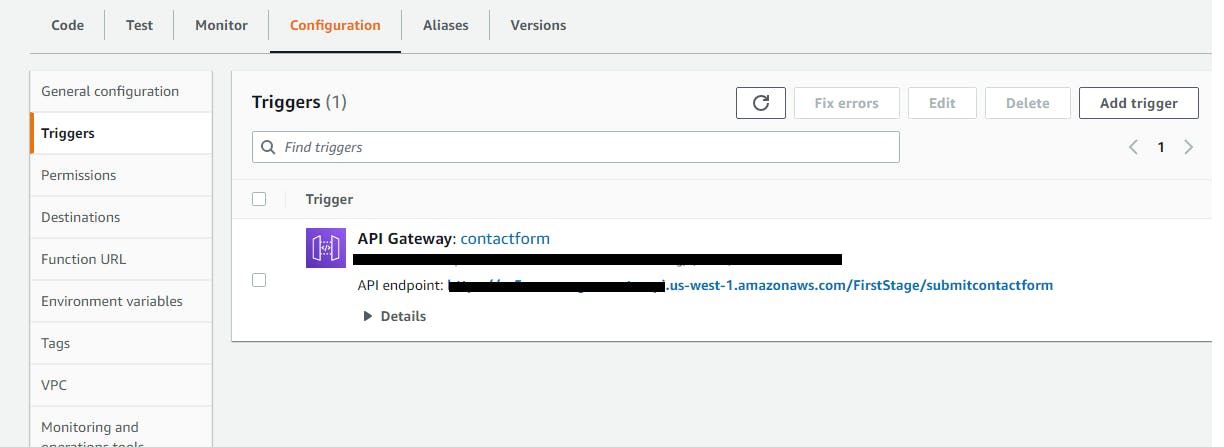
- 4.10 Now grab your Restful API URL from the “stages” tab which we will use for the HTML contact form if you missed copying refers to your lambda function page and in the configuration tab you will find a trigger click on that Now you can grab Restful API URL once again.
STEP 5: Build & deploy HTML contact form
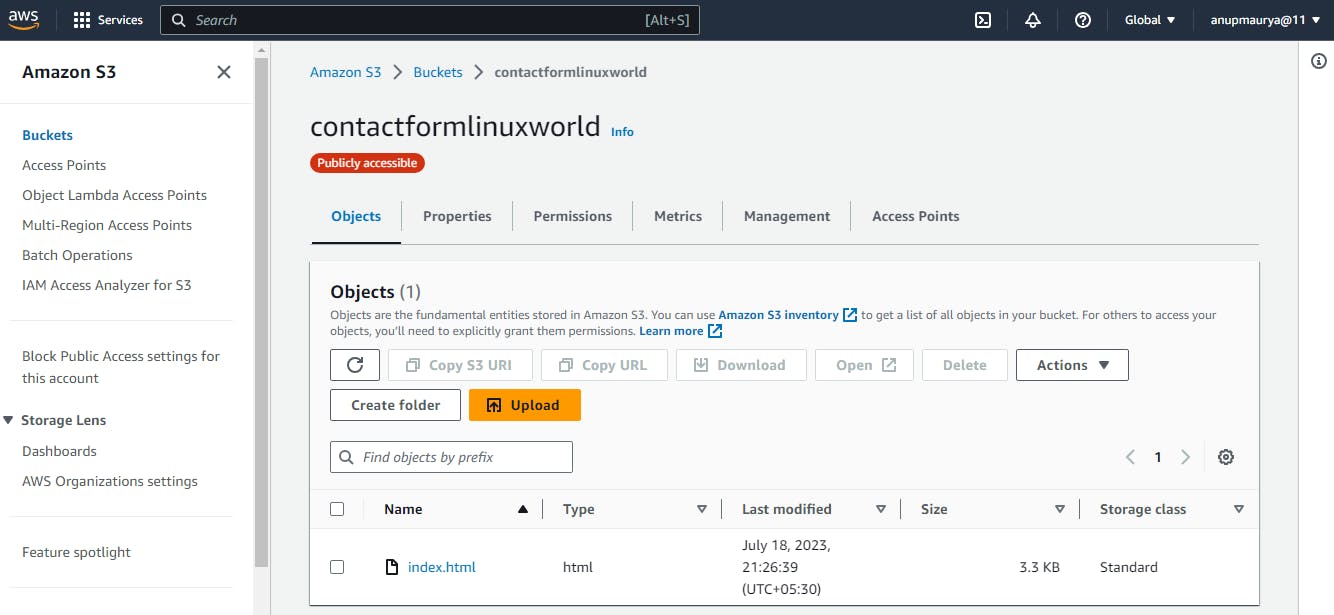
Copy and insert the code below into your S3 static website’s HTML contact page. Make sure you have the necessary styles and scripts in the section to load Bootstrap.
<form id="contact-form" method="post" class="p-4" style="background:#ffd200";>
    <h4>Name:</h4>
    <input type="text" id="name-input" placeholder="Enter name here…" class="form-control"/><br/>
    <h4>Phone:</h4>
    <input type="phone" id="phone-input" placeholder="Enter phone number" class="form-control" /><br/>
    <h4>Email:</h4>
    <input type="email" id="email-input" placeholder="Enter email here…" class="form-control" style="width:100%;"/><br/>
    <h4>How can we help you?</h4>
    <textarea id="description-input"  rows="3" placeholder="Enter your message…" class="form-control"></textarea><br/>
    <button type="button" onClick="submitToAPI(event)" class="btn btn-primary mt-3" >Submit</button>
</form>
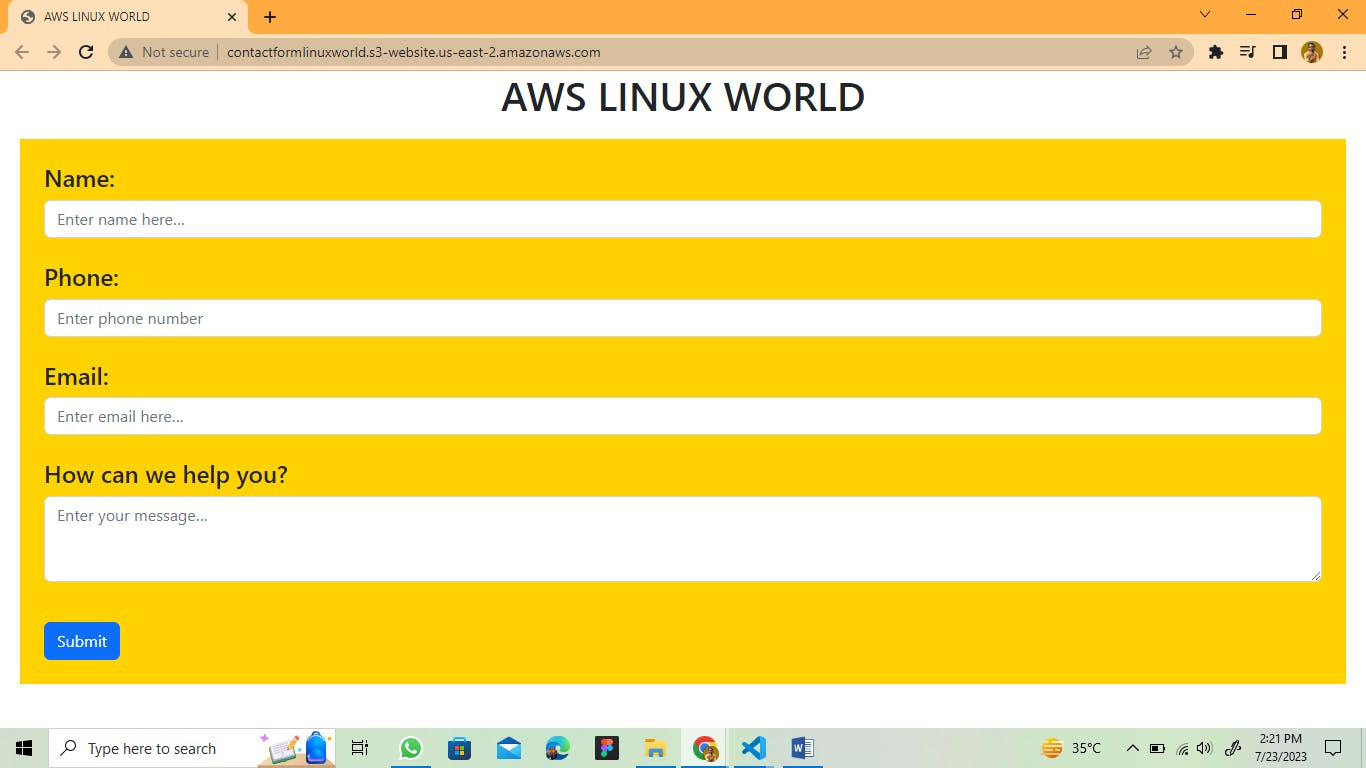
Your form will look like this
Url for Bootstrap CDN and documnetation
How to Host a Website on AWS S3
Add the JQuery code below to your section for the contact form, submit function and form field validation. (Change URL to your API URL)
function submitToAPI(e) {
       e.preventDefault();
       var URL = "https://xxxxxxxx.execute-api.us-east-1.amazonaws.com/01/contact";

            var Namere = /[A-Za-z]{1}[A-Za-z]/;
            if (!Namere.test($("#name-input").val())) {
                         alert ("Name can not less than 2 char");
                return;
            }
            var mobilere = /[0-9]{10}/;
            if (!mobilere.test($("#phone-input").val())) {
                alert ("Please enter valid mobile number");
                return;
            }
            if ($("#email-input").val()=="") {
                alert ("Please enter your email id");
                return;
            }
Complete code for your index.html is given below including JQuery and Boostrap CDN.*
<!DOCTYPE html>
<html lang="en">
<head>
    <meta charset="UTF-8">
    <meta http-equiv="X-UA-Compatible" content="IE=edge">
    <meta name="viewport" content="width=device-width, initial-scale=1.0">
    <!-- CSS only -->
<link href="https://cdn.jsdelivr.net/npm/bootstrap@5.2.1/dist/css/bootstrap.min.css" rel="stylesheet" integrity="sha384-iYQeCzEYFbKjA/T2uDLTpkwGzCiq6soy8tYaI1GyVh/UjpbCx/TYkiZhlZB6+fzT" crossorigin="anonymous">
    <title>Document</title>
</head>
<body>
<form id="contact-form" method="post" class="p-4" style="background:#ffd200";>
    <h4>Name:</h4>
    <input type="text" id="name-input" placeholder="Enter name here…" class="form-control"/><br/>
    <h4>Phone:</h4>
    <input type="phone" id="phone-input" placeholder="Enter phone number" class="form-control" /><br/>
    <h4>Email:</h4>
    <input type="email" id="email-input" placeholder="Enter email here…" class="form-control" style="width:100%;"/><br/>
    <h4>How can we help you?</h4>
    <textarea id="description-input"  rows="3" placeholder="Enter your message…" class="form-control"></textarea><br/>
    <button type="button" onClick="submitToAPI(event)" class="btn btn-primary mt-3" >Submit</button>
</form>
</body>
<script>
    function submitToAPI(e) {
       e.preventDefault();
       var URL = "https://abc1234.execute-api.us-east-1.amazonaws.com/01/contact"; // Replace the URL

            var Namere = /[A-Za-z]{1}[A-Za-z]/;
            if (!Namere.test($("#name-input").val())) {
                         alert ("Name can not less than 2 char");
                return;
            }
            var mobilere = /[0-9]{10}/;
            if (!mobilere.test($("#phone-input").val())) {
                alert ("Please enter valid mobile number");
                return;
            }
            if ($("#email-input").val()=="") {
                alert ("Please enter your email id");
                return;
            }

            var reeamil = /^([\w-\.]+@([\w-]+\.)+[\w-]{2,6})?$/;
            if (!reeamil.test($("#email-input").val())) {
                alert ("Please enter valid email address");
                return;
            }

       var name = $("#name-input").val();
       var phone = $("#phone-input").val();
       var email = $("#email-input").val();
       var desc = $("#description-input").val();
       var data = {
          name : name,
          phone : phone,
          email : email,
          desc : desc
        };

       $.ajax({
         type: "POST",
         url : "https://abc1234.execute-api.us-east-1.amazonaws.com/01/contact", // Replace the URL
         dataType: "json",
         crossDomain: "true",
         contentType: "application/json; charset=utf-8",
         data: JSON.stringify(data),


         success: function () {
           // clear form and show a success message
           alert("Successfull");
           document.getElementById("contact-form").reset();
       location.reload();
         },
         error: function () {
           // show an error message
           alert("UnSuccessfull");
         }});
     }
</script>

</html>
Congratulations we have done it

Great, Together we have done it once again, for any query please feel free to reach out to me
Ta-da! Until we meet again with a new article on AWS! ❤️